pressing
Push Press: How to Coordinate Your Dip, Drive, and Lockout
Understand the barbell push press, distinguish it from a strict press and push jerk, and use a practical recording worksheet for coached practice.
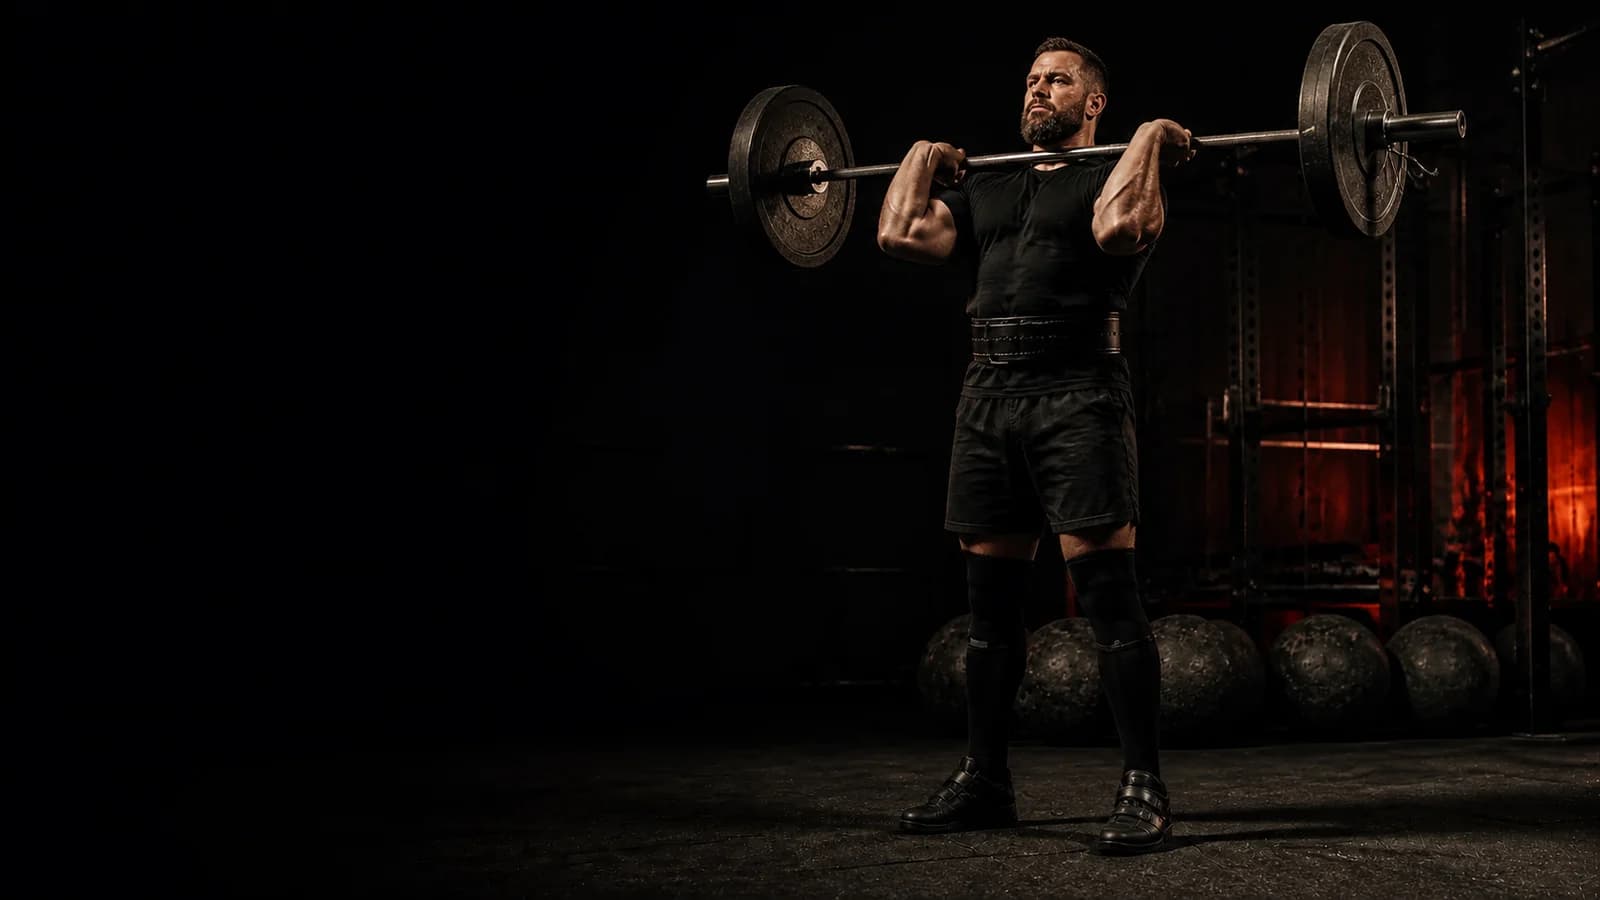
A barbell push press combines one knee dip, a leg drive and an overhead press. After driving upward, you finish the press without bending your knees again to receive the bar. If you dip a second time under the rising bar, you are performing a push jerk rather than a push press.
That distinction matters when you read a program or review a recording. It does not mean one lift is inherently better. Choose the movement your coach prescribed, then check whether your attempt matches it. Catalyst Athletics explains the push press and its distinction from the push jerk.
Push Press, Strict Press and Push Jerk
| Exercise | How you initiate the lift | How you finish |
|---|---|---|
| Strict press | Press without deliberate leg drive | Stand with the bar controlled overhead |
| Push press | Dip once and drive upward with your legs | Finish pressing without a second receiving dip |
| Push jerk | Dip and drive upward | Move under the bar with a second knee bend, then stand |
You still stabilize your body in a strict press. “No leg drive” does not mean only two muscles work. Similarly, you do not stop using your upper body when you add leg drive to a push press.
This article concerns a barbell. A log, axle or other strongman implement changes your setup and handling. Do not assume a barbell demonstration teaches you how to clean or return a different implement.
Before You Take the Bar
Learn the rack position and return with a qualified coach. Confirm that you can use the available bar and rack without forcing a painful wrist, shoulder or neck position. A lighter bar is not automatically appropriate for every person.
Check overhead clearance, the floor around you and the space behind the rack. Keep a phone, water bottle and other equipment outside that area. Agree how you will stop a failed attempt before you start; do not improvise a return while holding an unfamiliar load overhead.
If you cannot establish a comfortable starting position, ask your coach to choose another learning step. Stretching harder or widening your grip by an arbitrary amount is not a substitute for that assessment.
Understand the Dip and Drive
For the dip, bend your knees while keeping your trunk upright and your balance controlled. This is a brief preparation for the upward drive, not a deep squat. Your coach can choose a suitable depth and rhythm for your current practice.
Drive upward and continue into the press as you finish the leg extension. Think about one connected movement rather than pausing between a leg exercise and an arm exercise. Avoid interpreting “legs first” as permission to let go of the bar or disconnect your hands from it.
Make room for the bar to pass your face as your coach demonstrates. Do not force a dramatic neck movement or deliberately loop the bar far forward. Finish with control overhead, without a second knee bend to receive it. Those observations describe the movement; they do not establish that a particular load is suitable for you.
Learn the Return as a Separate Skill
A completed lockout is not the end of the repetition. You still need to return or put down the bar using the method appropriate to your equipment and setting.
Ask your coach to demonstrate the return before you combine multiple repetitions. Do not allow the bar to crash onto your shoulders, and do not bounce it into the next attempt. Reset deliberately. If you lose control, follow the stopping method you learned rather than trying to rescue the repetition for the camera.
This is one reason to learn in person. A written sequence cannot observe your rack height, grip, platform or nearby people. A video review after the set cannot intervene during an uncontrolled return.
Record One Question, Not a Technique Score
Use a side or front-quarter camera view that shows your feet, the starting bar position and the full overhead finish. Place the camera outside the lifting area. Ask permission before recording anyone else.
Watch once at normal speed to understand the rhythm. Use slow playback for a specific question, such as whether you bent your knees again to receive the bar. Do not infer internal force or joint loading from the apparent speed of a phone recording.
| What you can observe | Useful question | What you cannot conclude from it alone |
|---|---|---|
| Starting position | Can I see the bar supported before the dip? | Whether the position is comfortable or medically appropriate |
| Dip | Do I lean or shift noticeably? | A diagnosis of why I moved that way |
| Drive and press | Can I see the transition? | The force each muscle produced |
| Finish | Did I bend my knees again to receive the bar? | Whether a judge would accept the whole attempt |
| Return | Did I control and reset the bar? | Whether I should add weight |
Write “unclear” when the camera misses something. A complete-looking checklist is less useful than an honest record of what you could not see.
Three Troubleshooting Decisions
You Accidentally Perform a Push Jerk
If the recording clearly shows a second receiving dip, label that attempt accurately. If the program called for a push press, show the clip to your coach and ask how to adjust the practice. Do not call it a push press merely because the bar reached overhead.
Avoid forcing your knees straight against an unstable load to preserve the exercise name. The appropriate response may be to stop, change the load or return to a simpler coached step.
You Move the Bar Forward
Note where you first see the change: before the dip, during the drive or near the finish. That timing gives your coach a more useful question than “my form is bad.”
Do not assume the solution is always a stronger upper back, a faster dip or a narrower stance. Those explanations require more information. Change one agreed variable at a time so you can compare attempts meaningfully.
You Cannot Control the Return
Stop linking repetitions. Ask your coach to review the return and equipment setup before you continue. Do not count a chaotic descent as acceptable because the upward part looked good.
If you feel pain, stop the movement and seek appropriate qualified guidance. Do not use a different grip or extra repetitions as a way to test whether you can ignore the symptom.
Fictional Example: A Useful Review Without Adding Weight
In this fictional example, Morgan's program specifies a push press. Morgan records a practice set and initially writes “three completed presses.” On review, the second attempt includes a visible receiving dip.
Morgan changes the note to “second attempt became a push jerk” and asks the coach to review the transition. The phone view cuts off the feet, so Morgan also notes that balance at the finish is unclear. Morgan does not add weight or invent a successful correction.
The next useful action is a clearer recording of a coach-approved attempt. This example illustrates accurate logging, not a prescribed session or a promise of improvement.
Keep the Clip With Your Training Notes
After you have a specific observation, use Strongman AI: Gym Coach to review recorded strongman training video and keep a session record. Upload your coached pressing clip and note the exact moment you want to examine, such as a second receiving dip. Bring that observation to your next coaching discussion.
Use the app for visible technique review and training organization. It cannot measure hidden forces, diagnose discomfort or decide whether an attempt meets a competition's judging rules.
Copyable Push Press Practice Record
- Intended exercise and implement:
- Setup and return demonstrated by:
- Load and repetitions actually attempted:
- Camera view and any missing detail:
- One visible observation:
- One question for my coach:
- Next step my coach and I agreed on:
Keep the intended exercise separate from what you actually performed. If you changed implement, camera angle or practice conditions, record that too. Comparing two different setups as though nothing changed can obscure the question you wanted to answer.
Before your next session, confirm the exercise name and how you will return the bar. Then choose one observation to record. You do not need a new maximum or a complicated drill to make the session note useful.